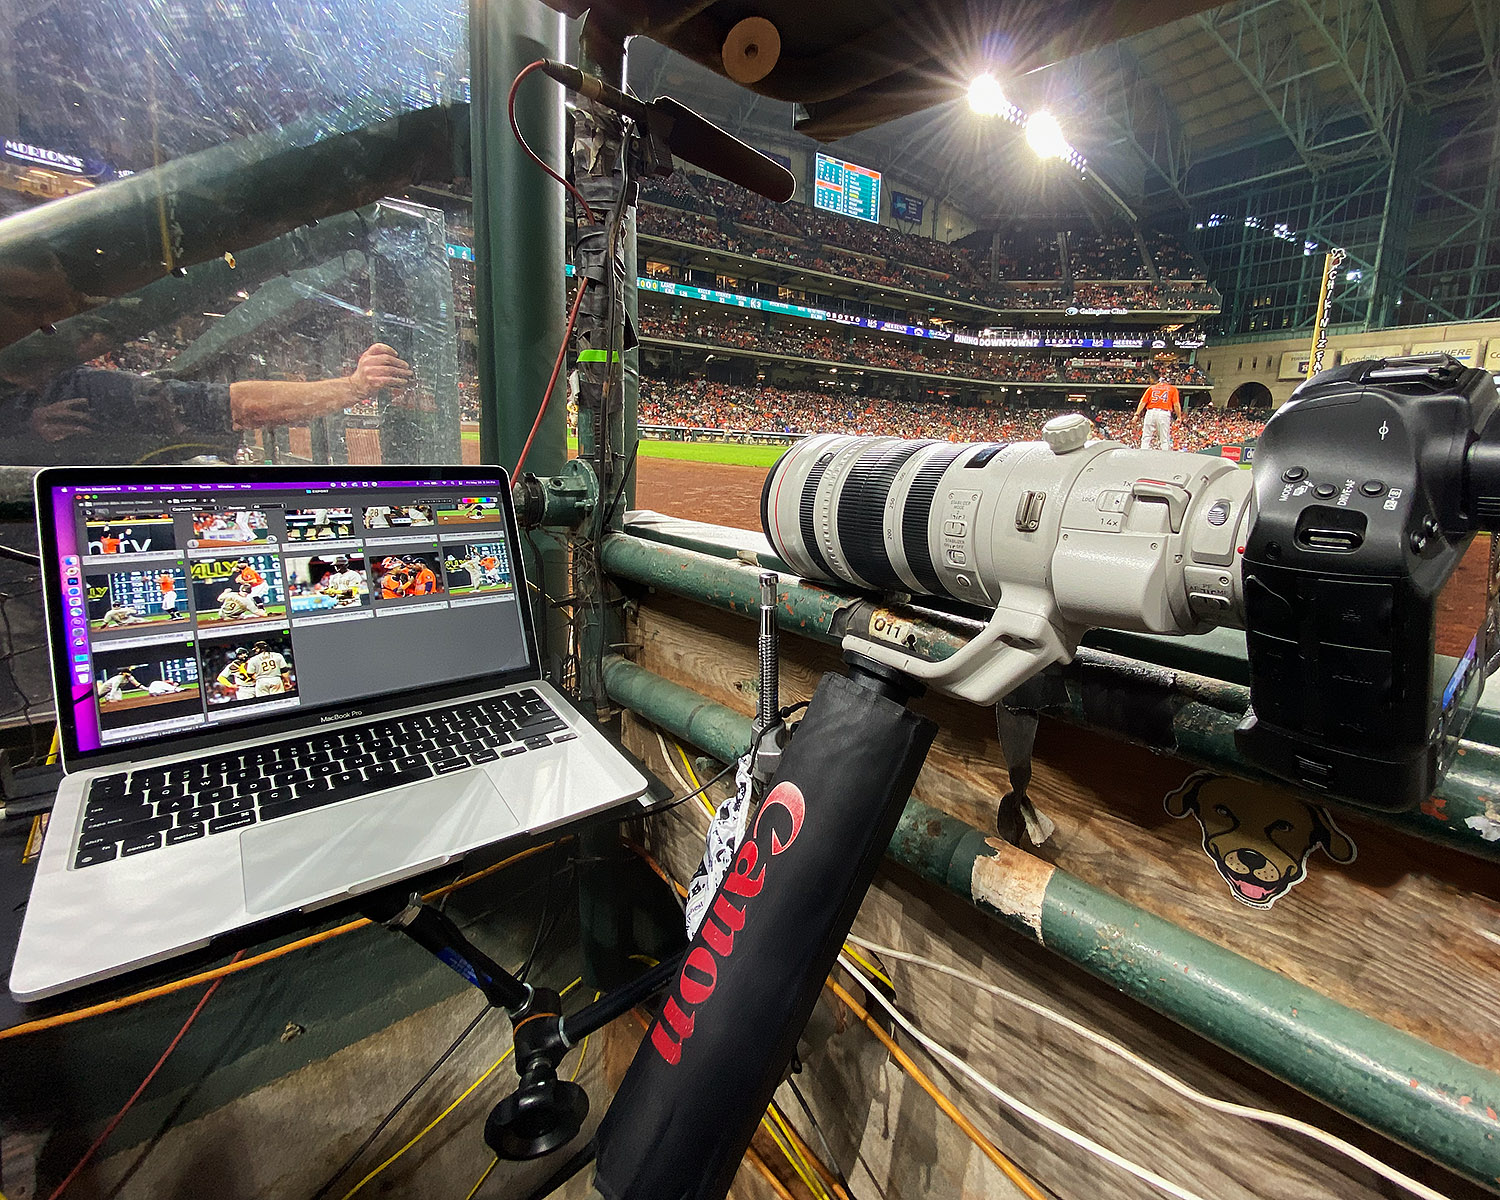
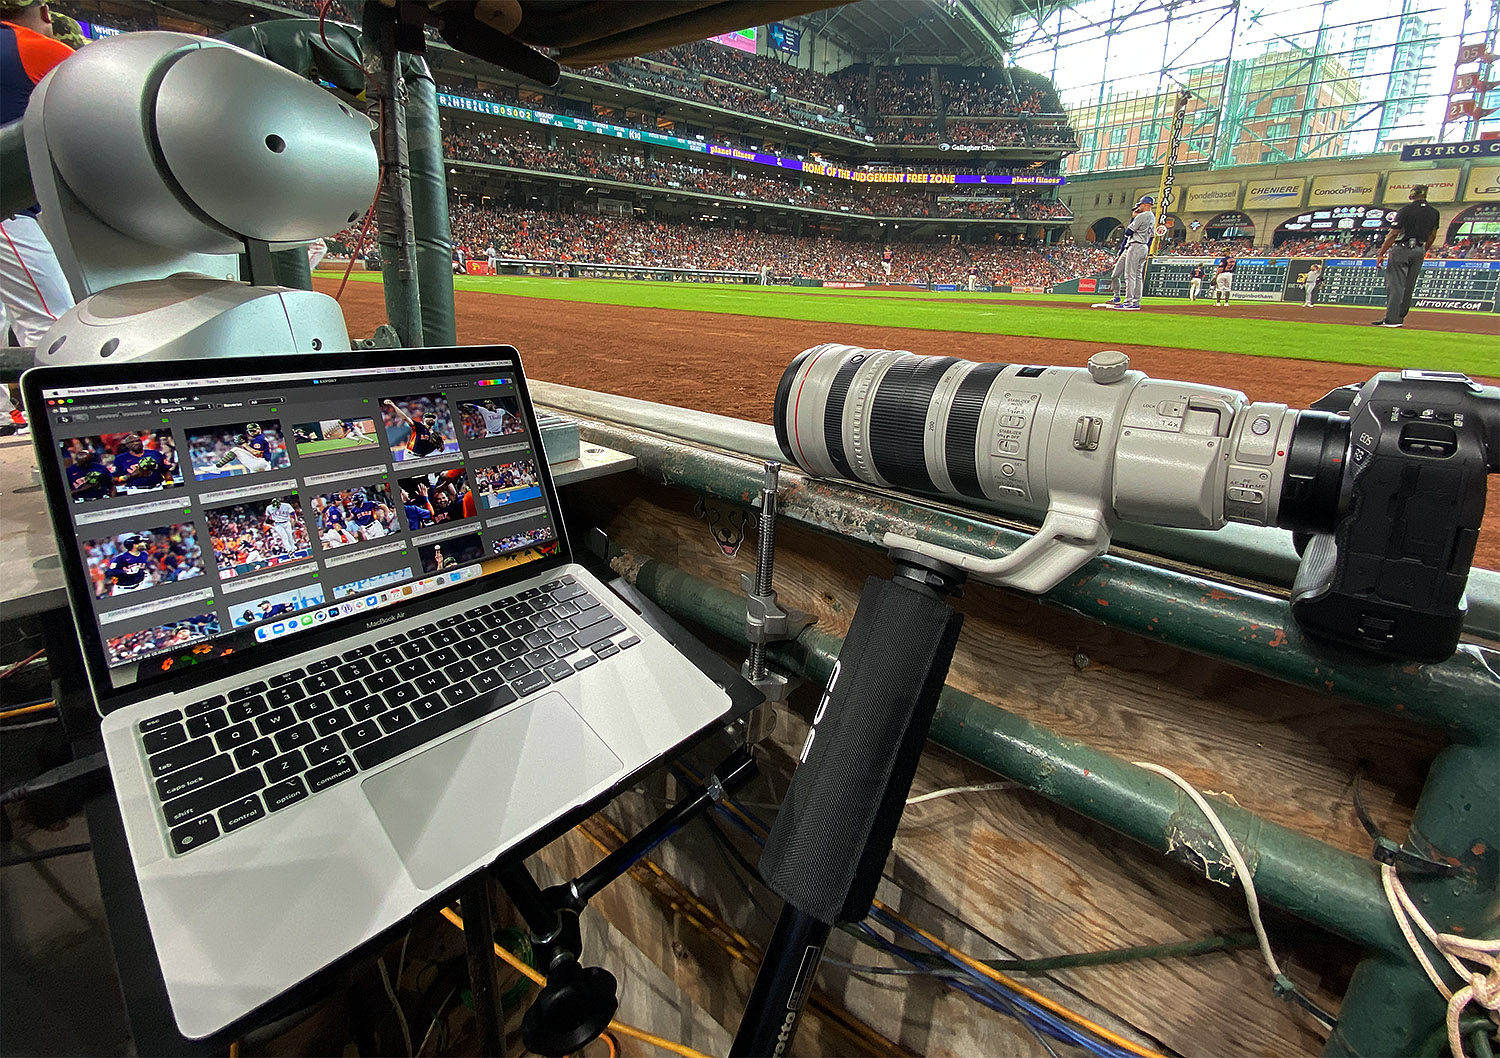
I photograph a lot of Major League Baseball. The continually changing restrictions due to COVID-19 means we have been positioned in many different places at Minute Maid Park during the past two seasons.
Professional baseball photographers shoot, edit and transmit in a continuous cycle during the game; taking advantage of any slow down in play to catch up on the previous inning. This requires keeping our laptops close by as we are shooting the game.
I am frequently asked about the stand I use to hold my laptop for in-game editing so I decided to compile the details for easy sharing. Keep reading if you are interested.
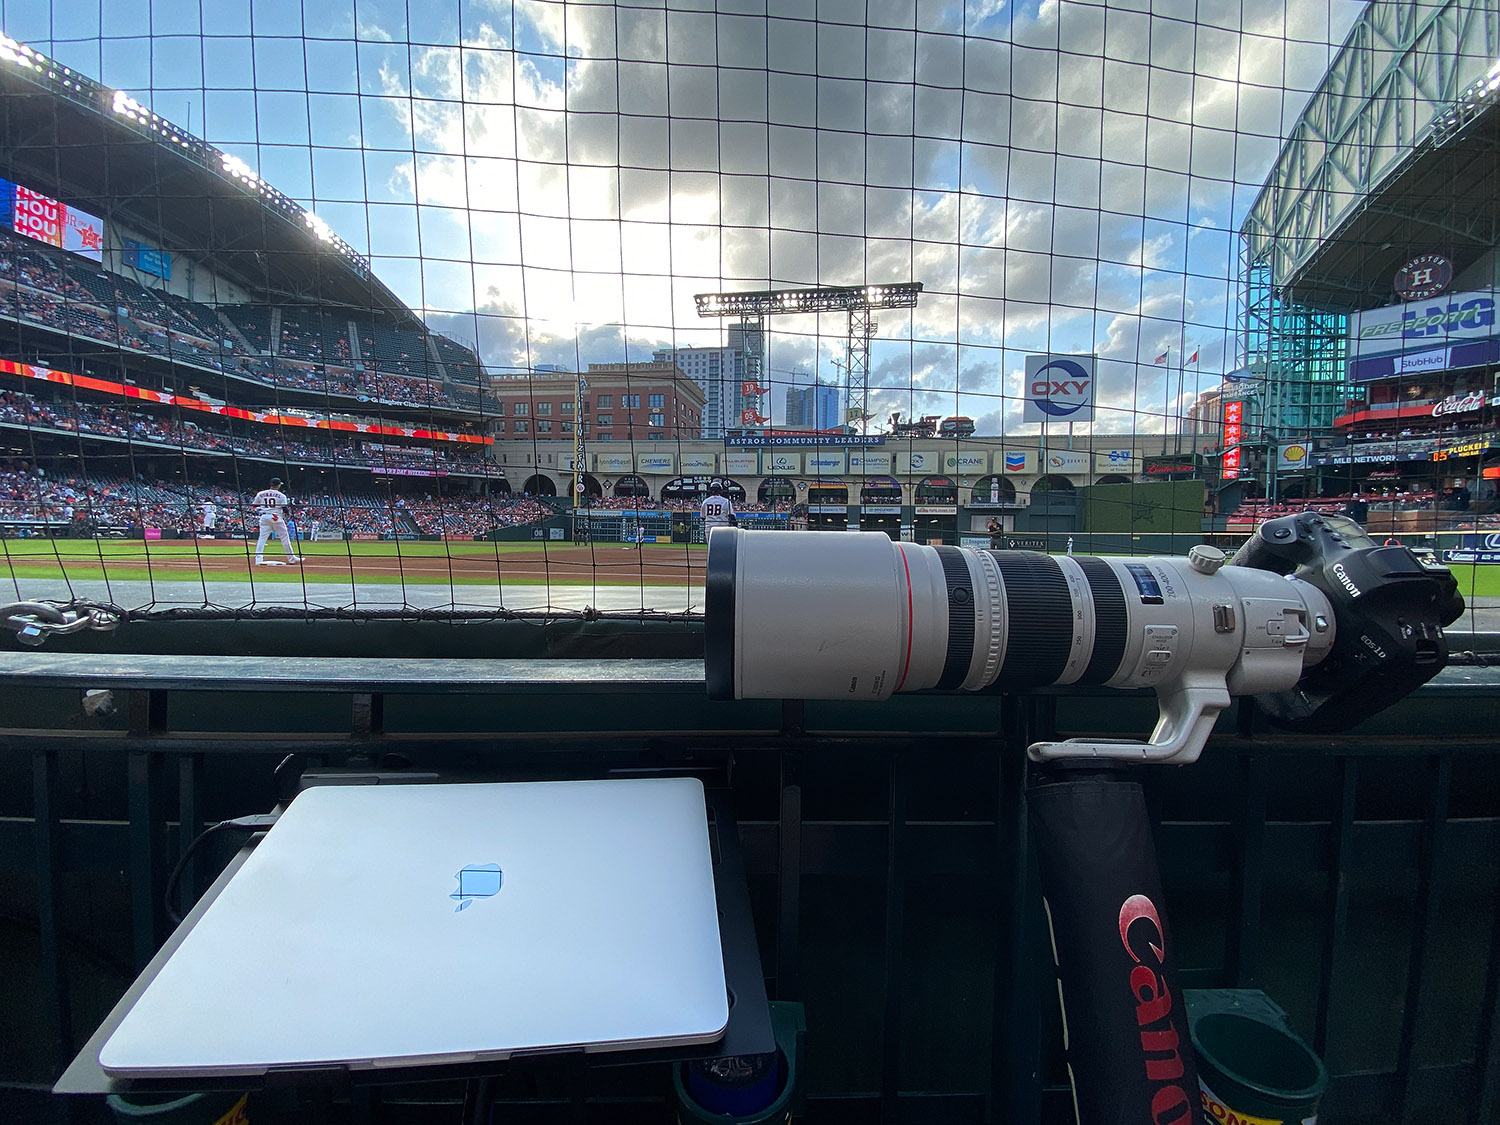
This setup really came together for me in the 2019 season. There is a built-in counter in the back of the outside first base camera well at Minute Maid Park, but using it means having to turn your back to the field while editing. I decided I wanted to keep my eyes on the action so I started assembling this stand. Friends and colleagues shared different ideas and I took all the advice and settled on the following:
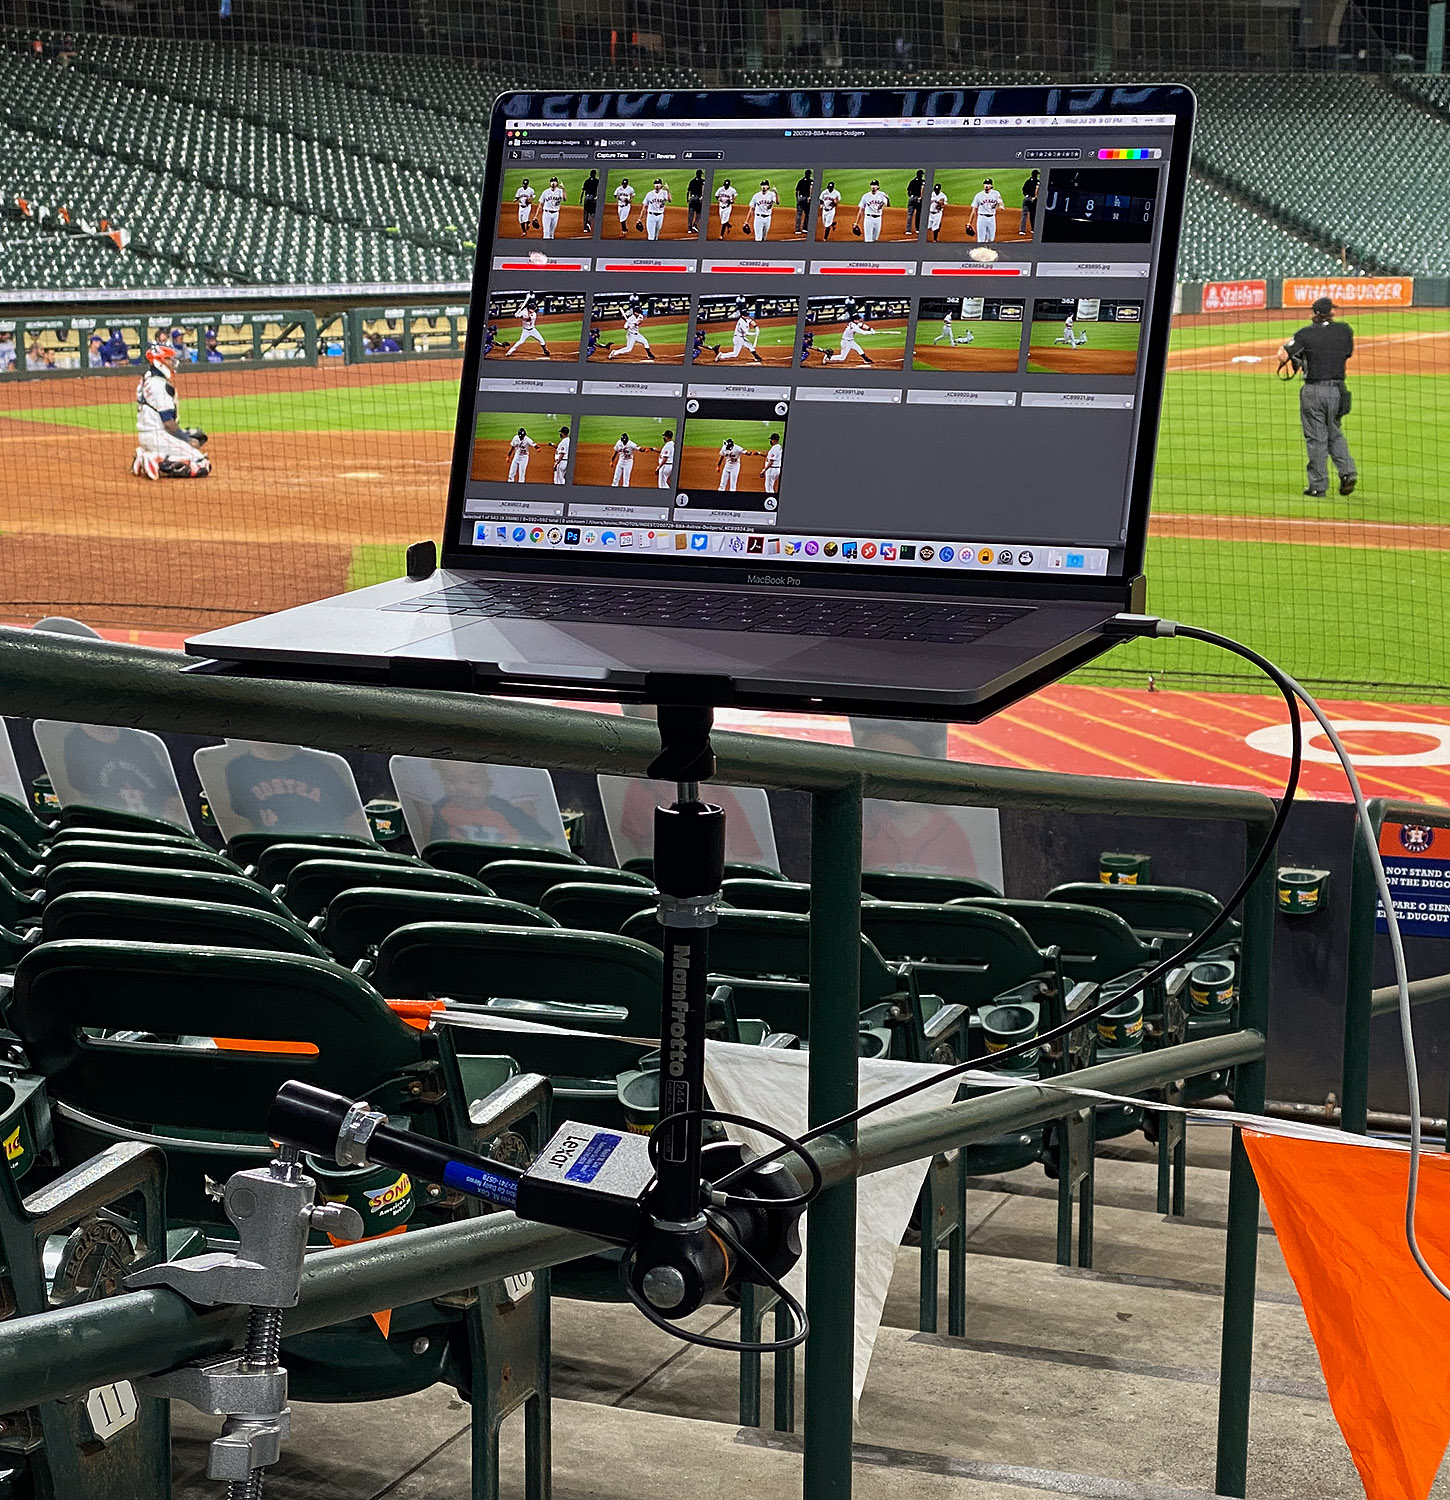
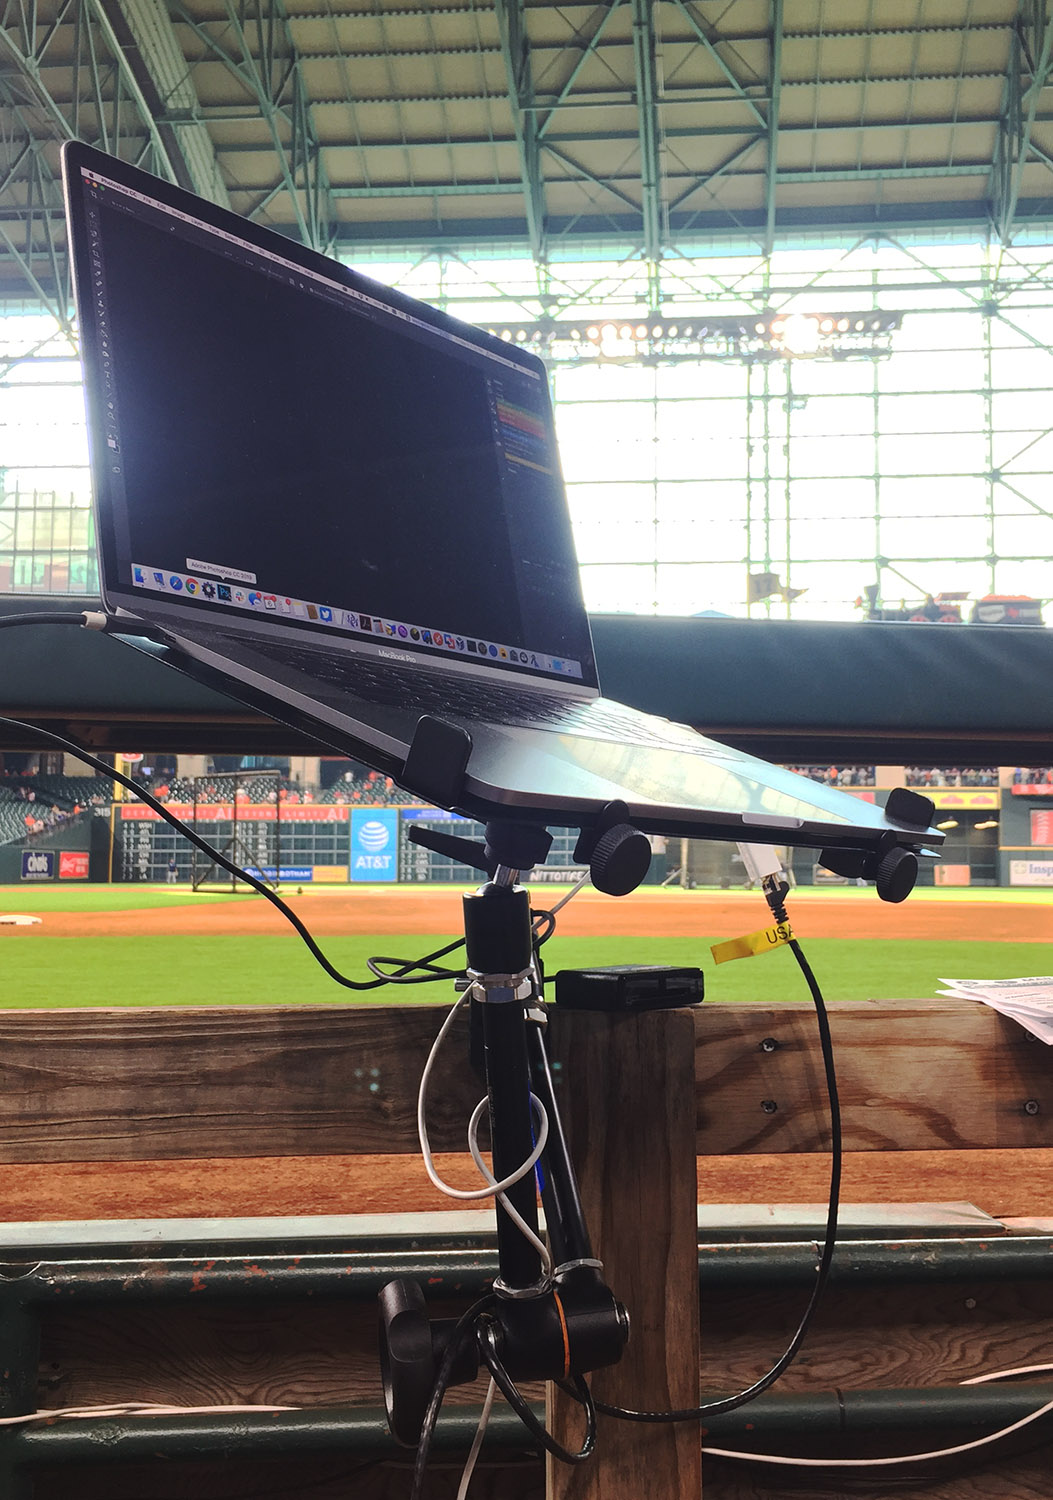
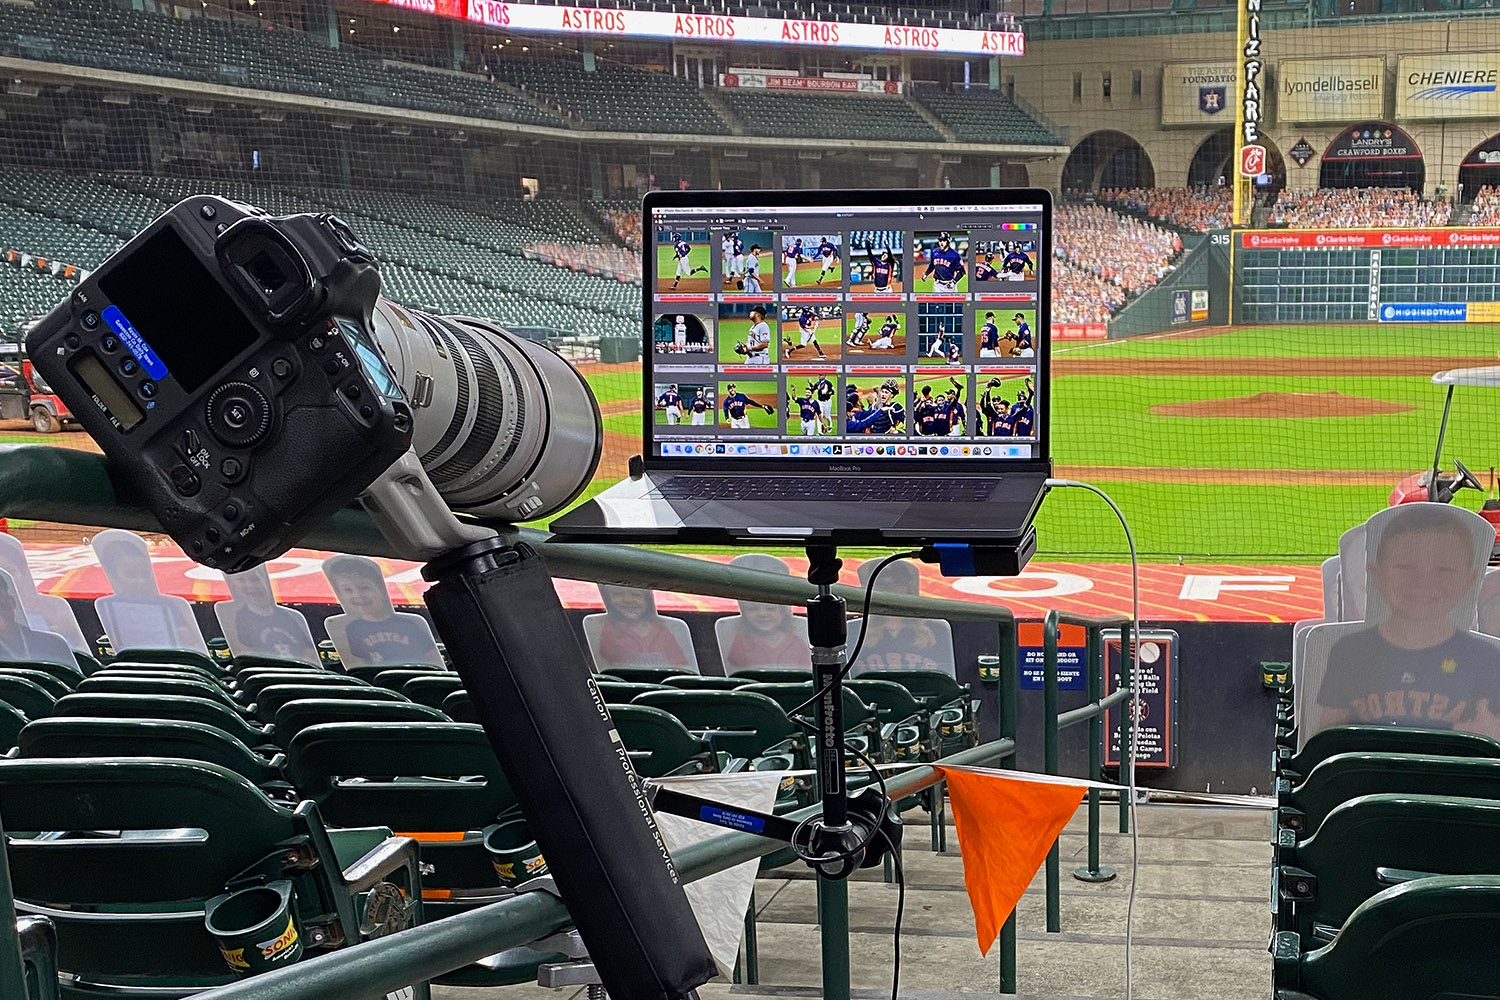
Clamp:
Depending on where I am setup I will use either one of two clamps:
Manfrotto Super Clamp – This is a great all purpose clamp that will fit around most railings and poles up to 2 inches. (There are several other manufacturers that make similar clamps, and versions with a different handle, but I still use the original.)
Kupo Super Visor Clamp – I’ll use this clamp if I am in a spot with a thicker mounting area. I feel like I can crank down the Kupo tighter without fear of breaking the clamp, but it’s larger size means it won’t work in many locations.
Support:
Manfrotto 244N Variable Friction Magic Arm – From remote cameras to lighting gear and even laptop stands the variable friction arm allows you to turn and twist your setup into the perfect position.
Adapters:
I need a couple adapters to easily mount the laptop tray onto the variable friction arm:
Manfrotto 014-38 Rapid Adapter – 5/8″ Stud to 3/8″ Thread – This rapid adapter easily slips onto the end of the variable friction arm and secures the tray into place.
On-Stage MA300 5/8″ Male to 3/8″ Female Knurled Mic Screw Adapter – This step-down thread adapter allows the rapid adapter to screw into the laptop tray.
Laptop Tray:
On-Stage MSA5000 Laptop Mount – This laptop mount will easily hold up to a 16″ MacBook Pro and has little tabs that will keep it from sliding off unless something really crashes into it.
Alternative: I know several people that use the Tether Tools Table Aero, but the cost for this tray alone equals my complete setup with clamp and arm. But it does offer a larger surface.
Cost:
Total cost including sales tax is just under $200. Not bad for a very flexible setup you can mount just about anywhere for live editing.